When I was researching how to add an SSL certificate to my self-hosted website, it seemed like there’s a daunting amount of ways to add HTTPS to your website. I tried a couple of ways of enabling HTTPS and it they kind of worked. It added HTTPS but the certificate was self-signed, so whenever someone came onto my website they would be greeted with a warning that they had to click through and then they would see that the lock next to the website name had a red slash through it. I found a solution, and it’s Certbot.
Certbot
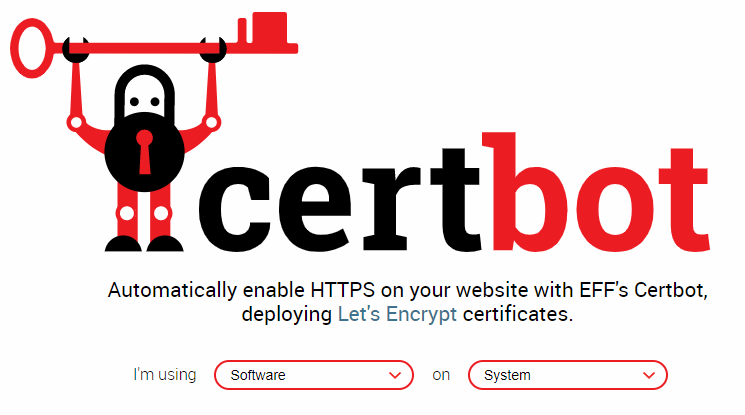
This was the best and easiest way for me personally to get HTTPS on my Apache site. Go to their website https://certbot.eff.org/, and you should be greeted with the following:
Installing Certbot
- On the ‘Software’ dropdown, select Apache
- I am using my Raspberry PI, so on the ‘System’ dropdown I choose Debian 9 (Stretch)
Enable Debian Backports
To enable the Stretch backports repository, run:
$ sudo apt-get install certbot python-certbot-apache -t stretch-backports
Getting Started
Certbot has an Apache plugin, and automates the certificate installation:
$ sudo certbot --apache
Running the above command will generate your certificate for you, and Certbot automatically edits your Apache configuration. If you would like to make the changes to your Apache configuration manually, you can use the certonly subcommand:
$ sudo certbot --apache certonly
If you want to learn more about how to use Certbot read their documentation.
Renewing the Certificate
If you chose the command where Certbot automatically edits your configuration, Certbot will also automatically update your certificate right before it expires. Their certificates last 90 days, and it’s very useful to take advantage of this feature. You can test the automatic renewal of your certificates by running this command:
$ sudo certbot renew --dry-run